


Highlight

Set the drop height

Change bulbs when needed

Keeps sightlines open

Gentle light, easy on the eyes

Connects to existing wiring
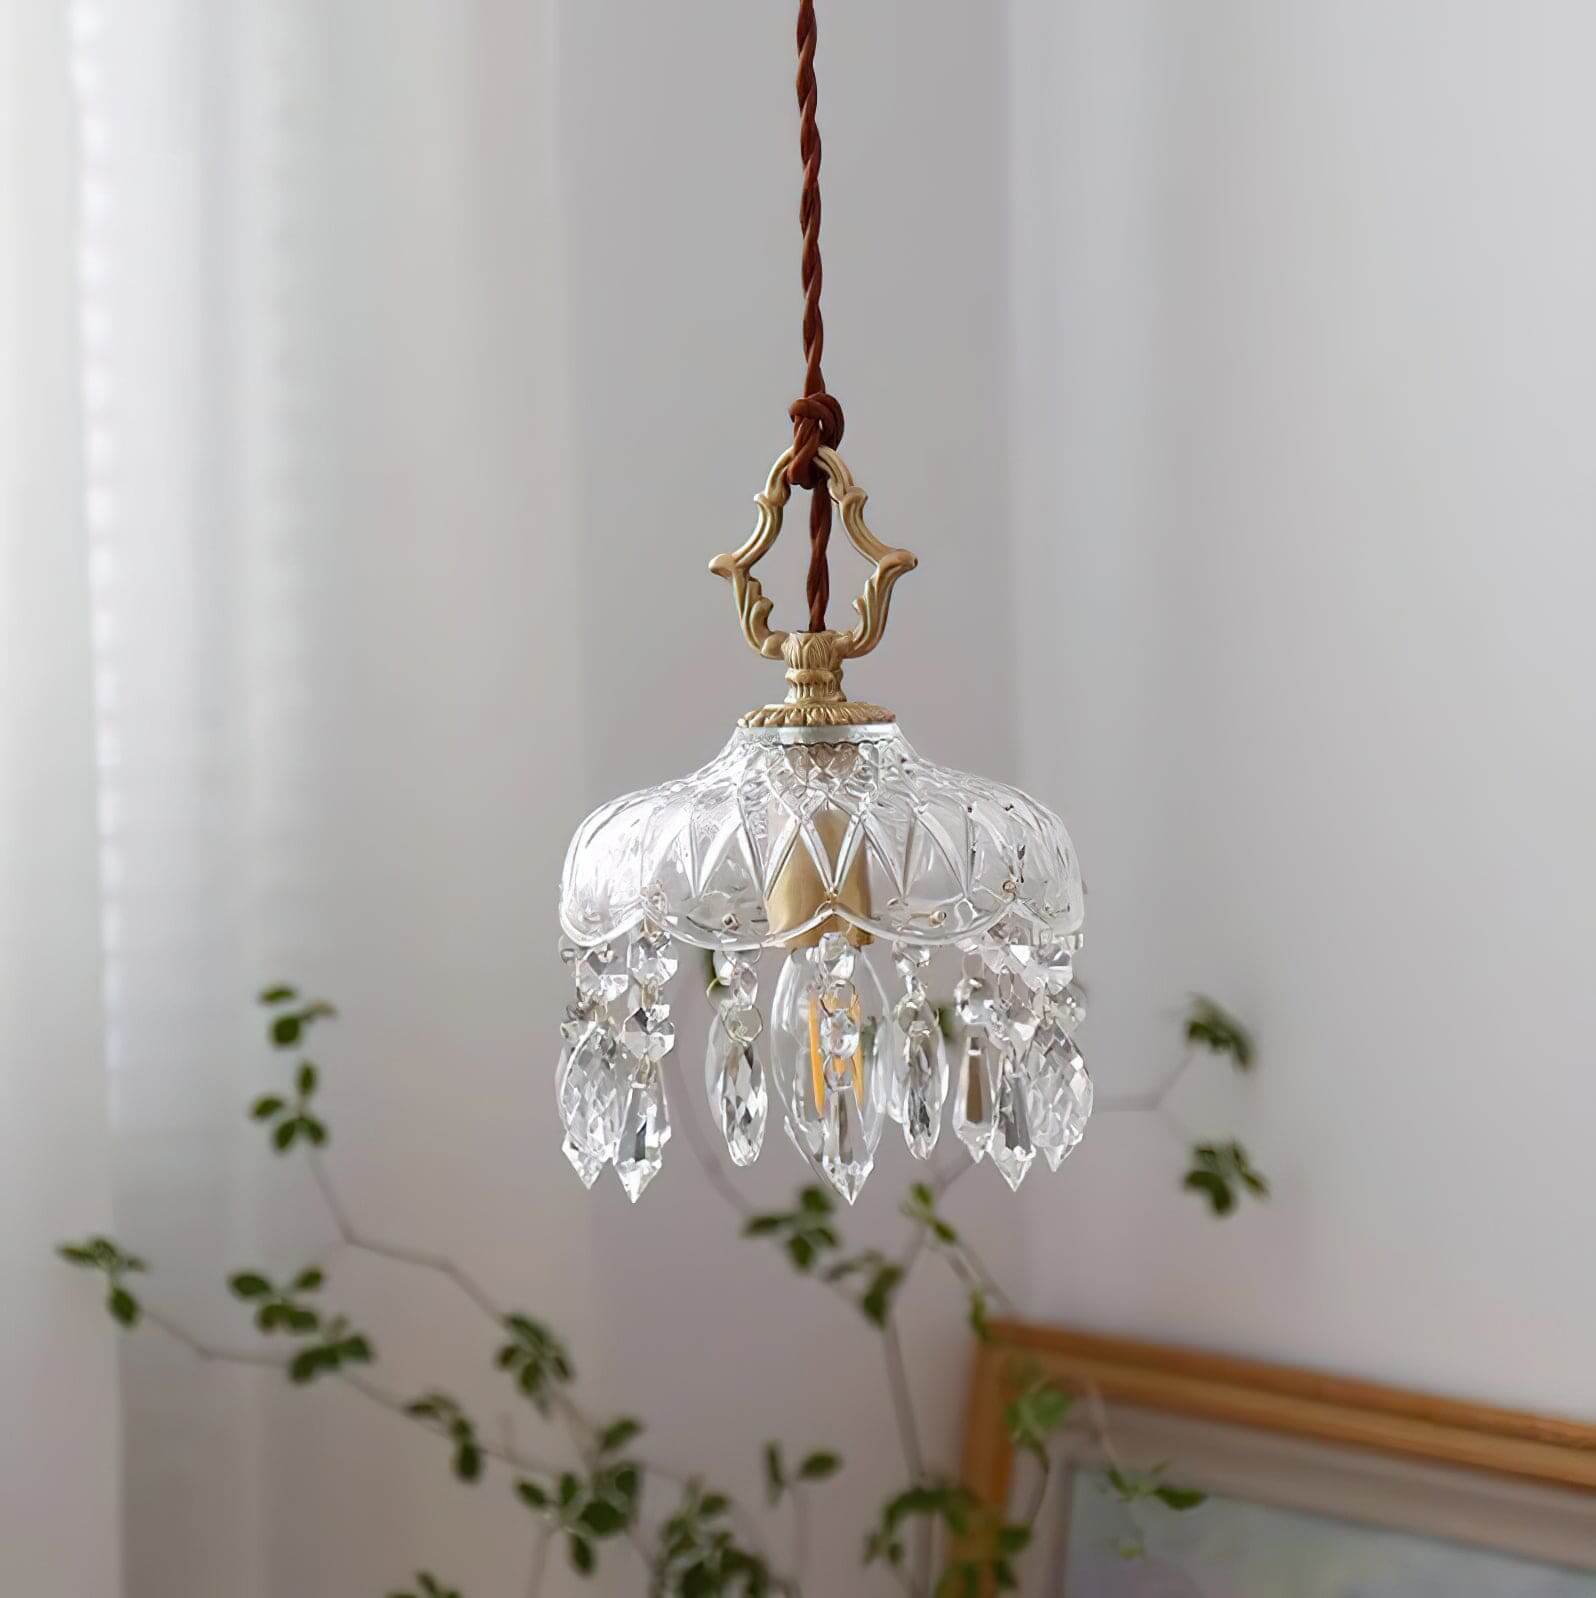
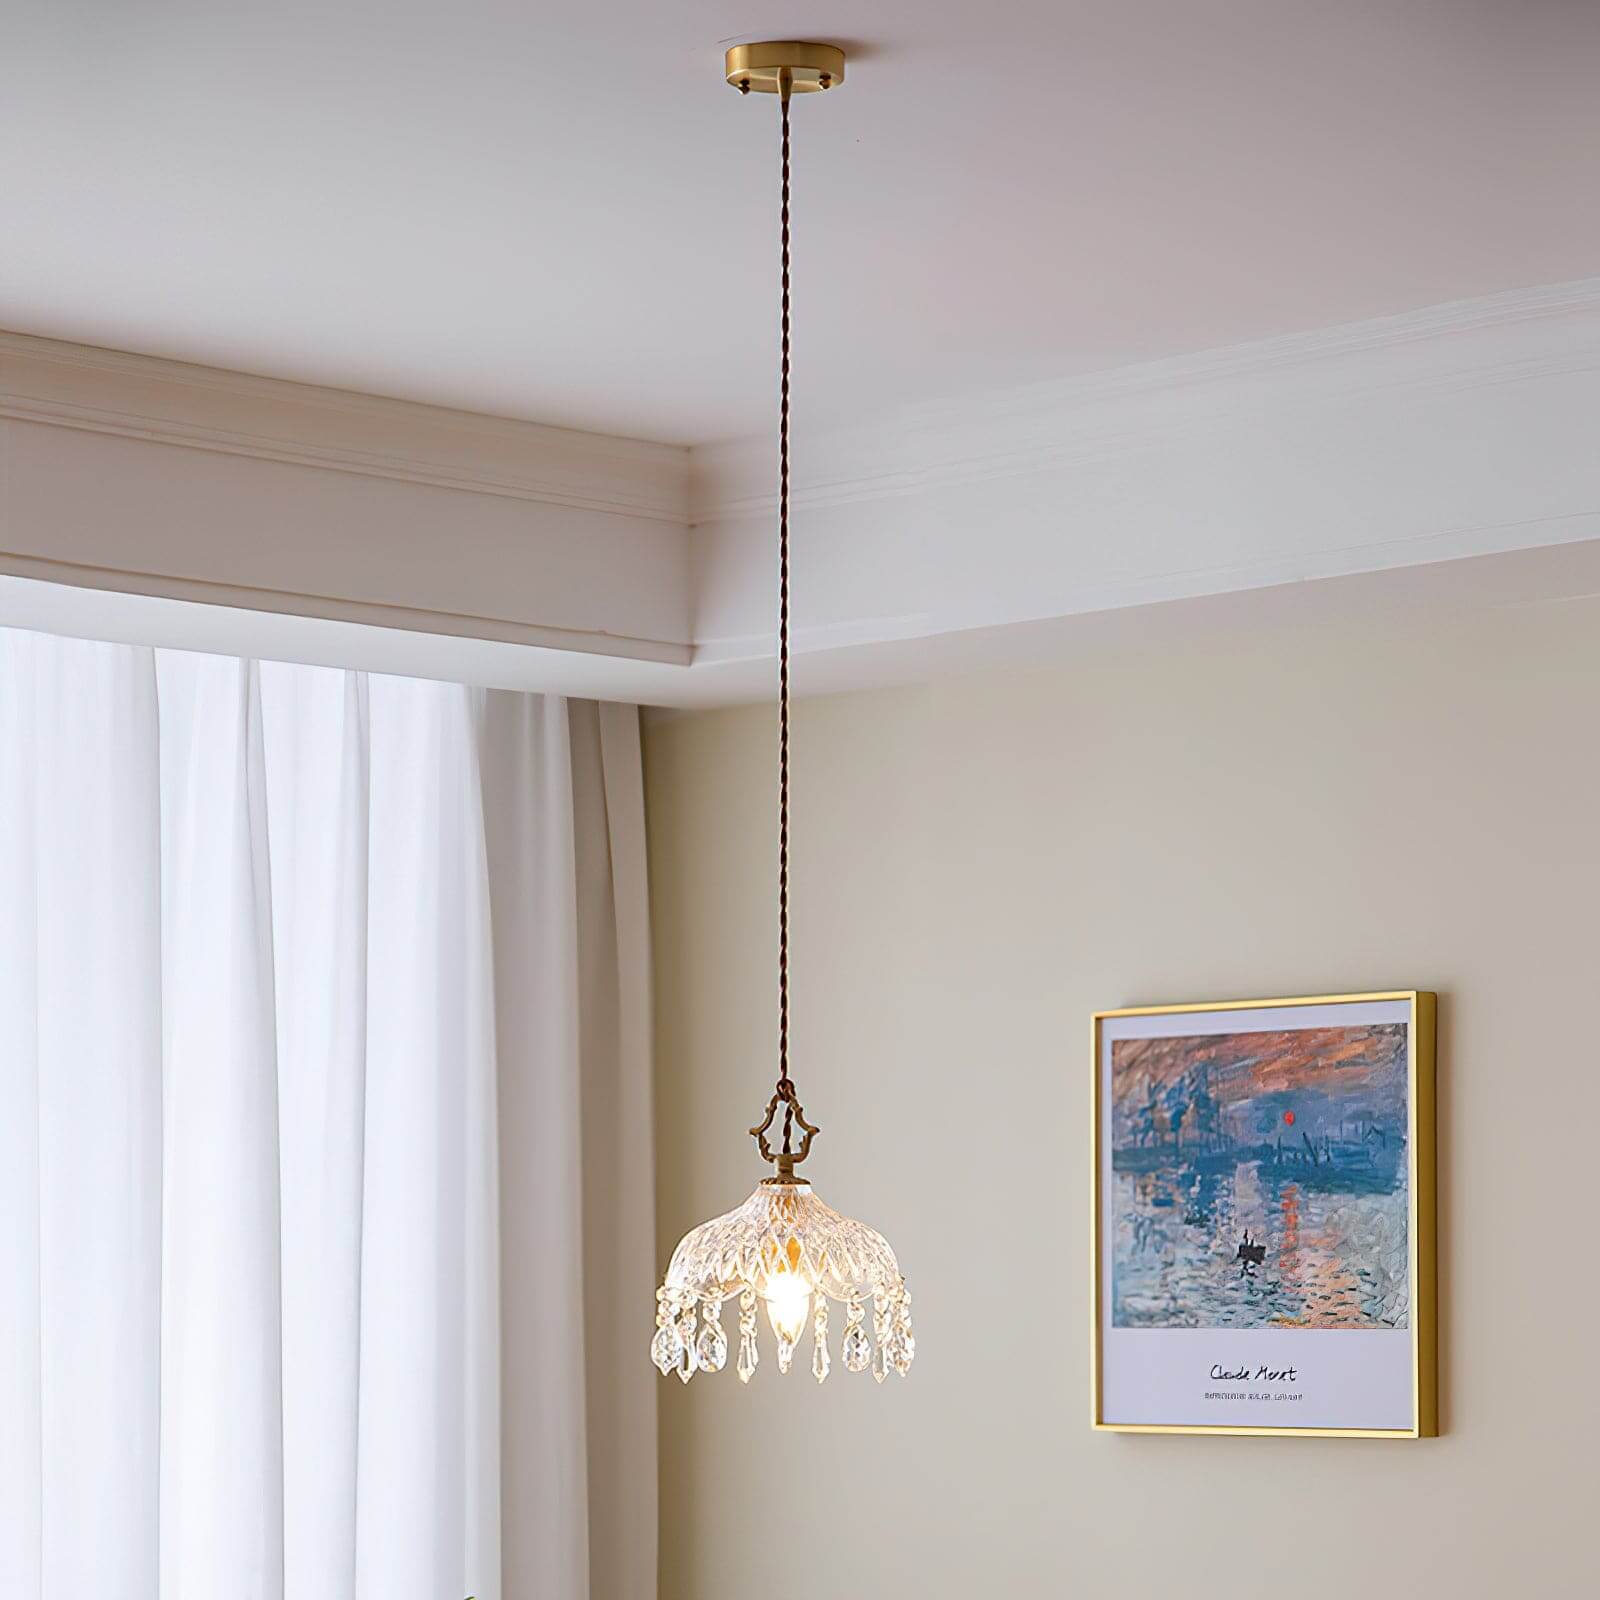
Crystal Haba Pendant Lamp
SKU: RSS-PL00101
Highlight
Set the drop height
Change bulbs when needed
Keeps sightlines open
Gentle light, easy on the eyes
Connects to existing wiring
Pairs well with
Free Standard U.S. Shipping
30-Day Return Support
1-Year Brand Warranty
Secure Checkout Guarantee
Crystal Haba Pendant Lamp
We are committed to providing a seamless experience. Review our core guarantees below, and if you need further assistance, our team is always here to help. We aim to respond within 24 business hours.
-
Shipping & Delivery
We offer Complimentary Standard Shipping on all U.S. orders (typically 20-30 working days). Need it sooner? Expedited delivery is available at checkout. All import taxes and duties are fully covered by us—the price you see is the final price.
-
30-Day Peace of Mind
Shop with confidence. We accept standard returns within 30 days of delivery. Arrival Guarantee: If your fixture arrives damaged or defective in transit, simply send us photos. We will immediately issue a free replacement or full refund—no return shipping required!
-
1-Year Brand Warranty
Rosso fixtures are crafted for longevity. We proudly back our products with a 1-year limited warranty covering defects in materials and workmanship, ensuring your sanctuary remains perfectly illuminated.
-
Get in Touch
Have a specific question about dimensions, installation, or trade/designer orders? Reach out to us at support@rossolighting.com. Our dedicated support team is available Monday to Friday, 9:00 AM - 6:00 PM (GMT+8).
Product details
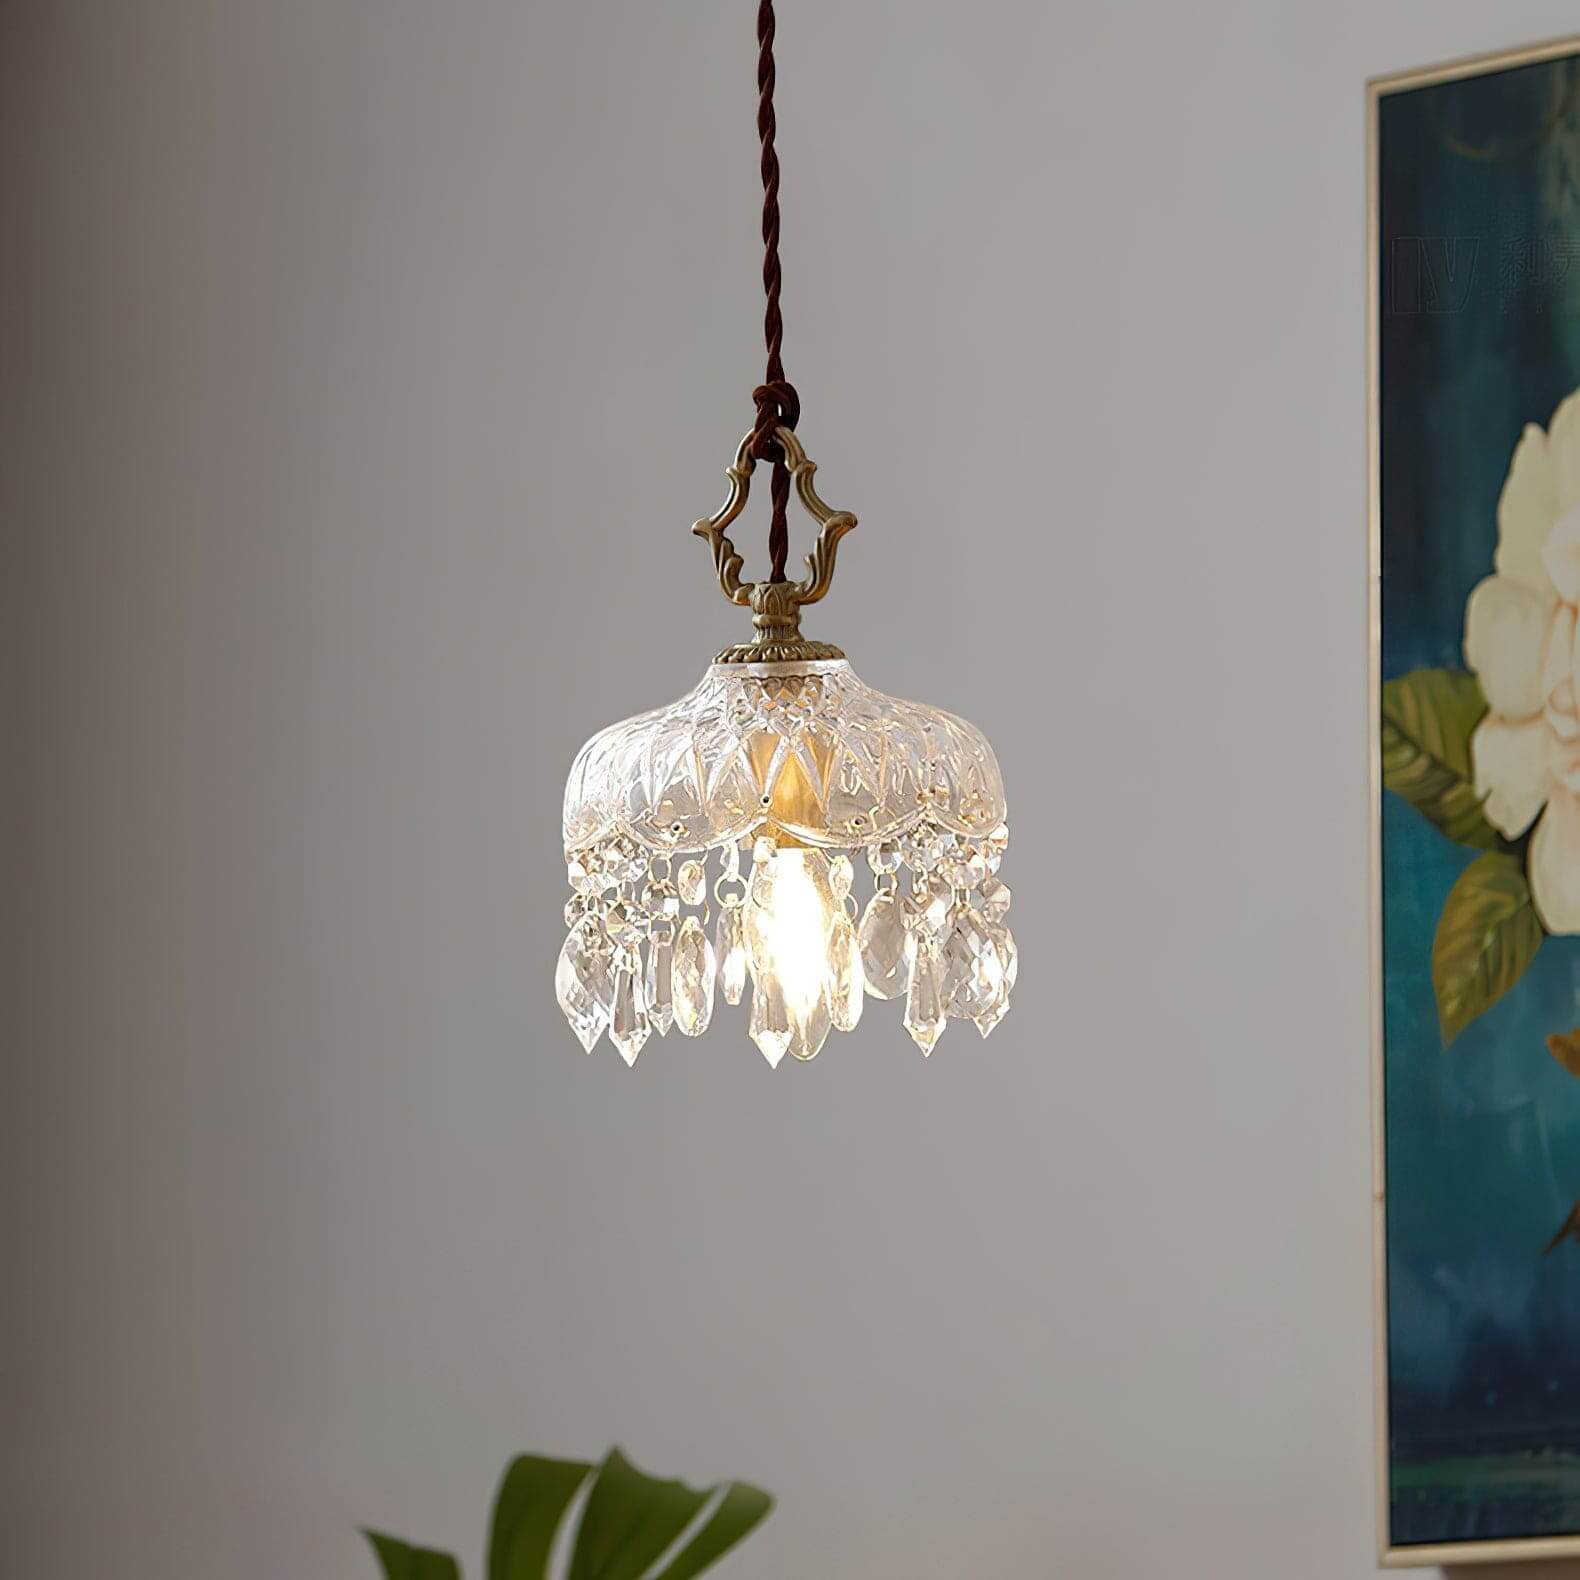
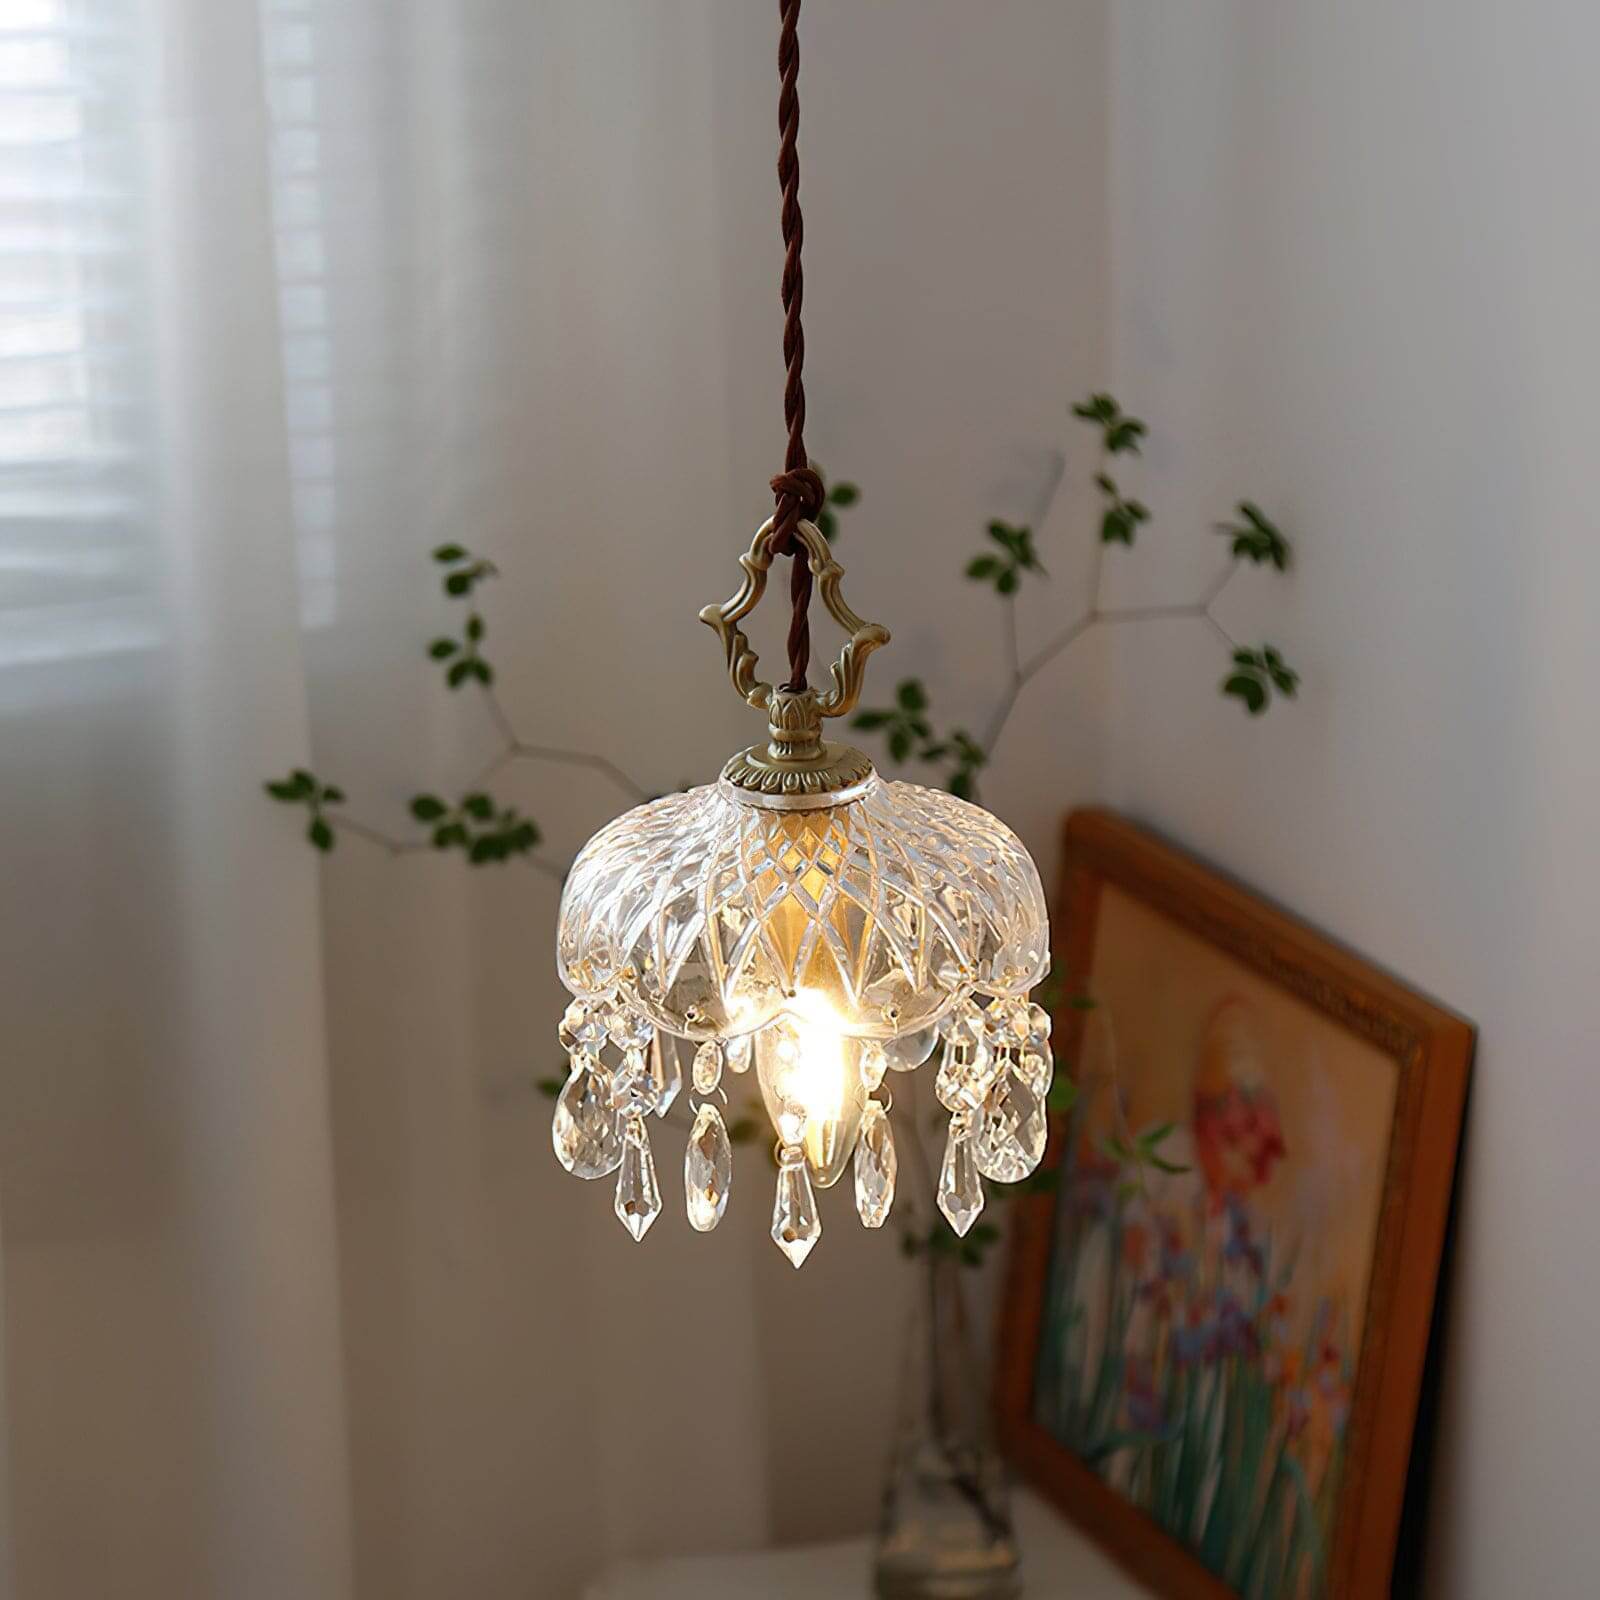
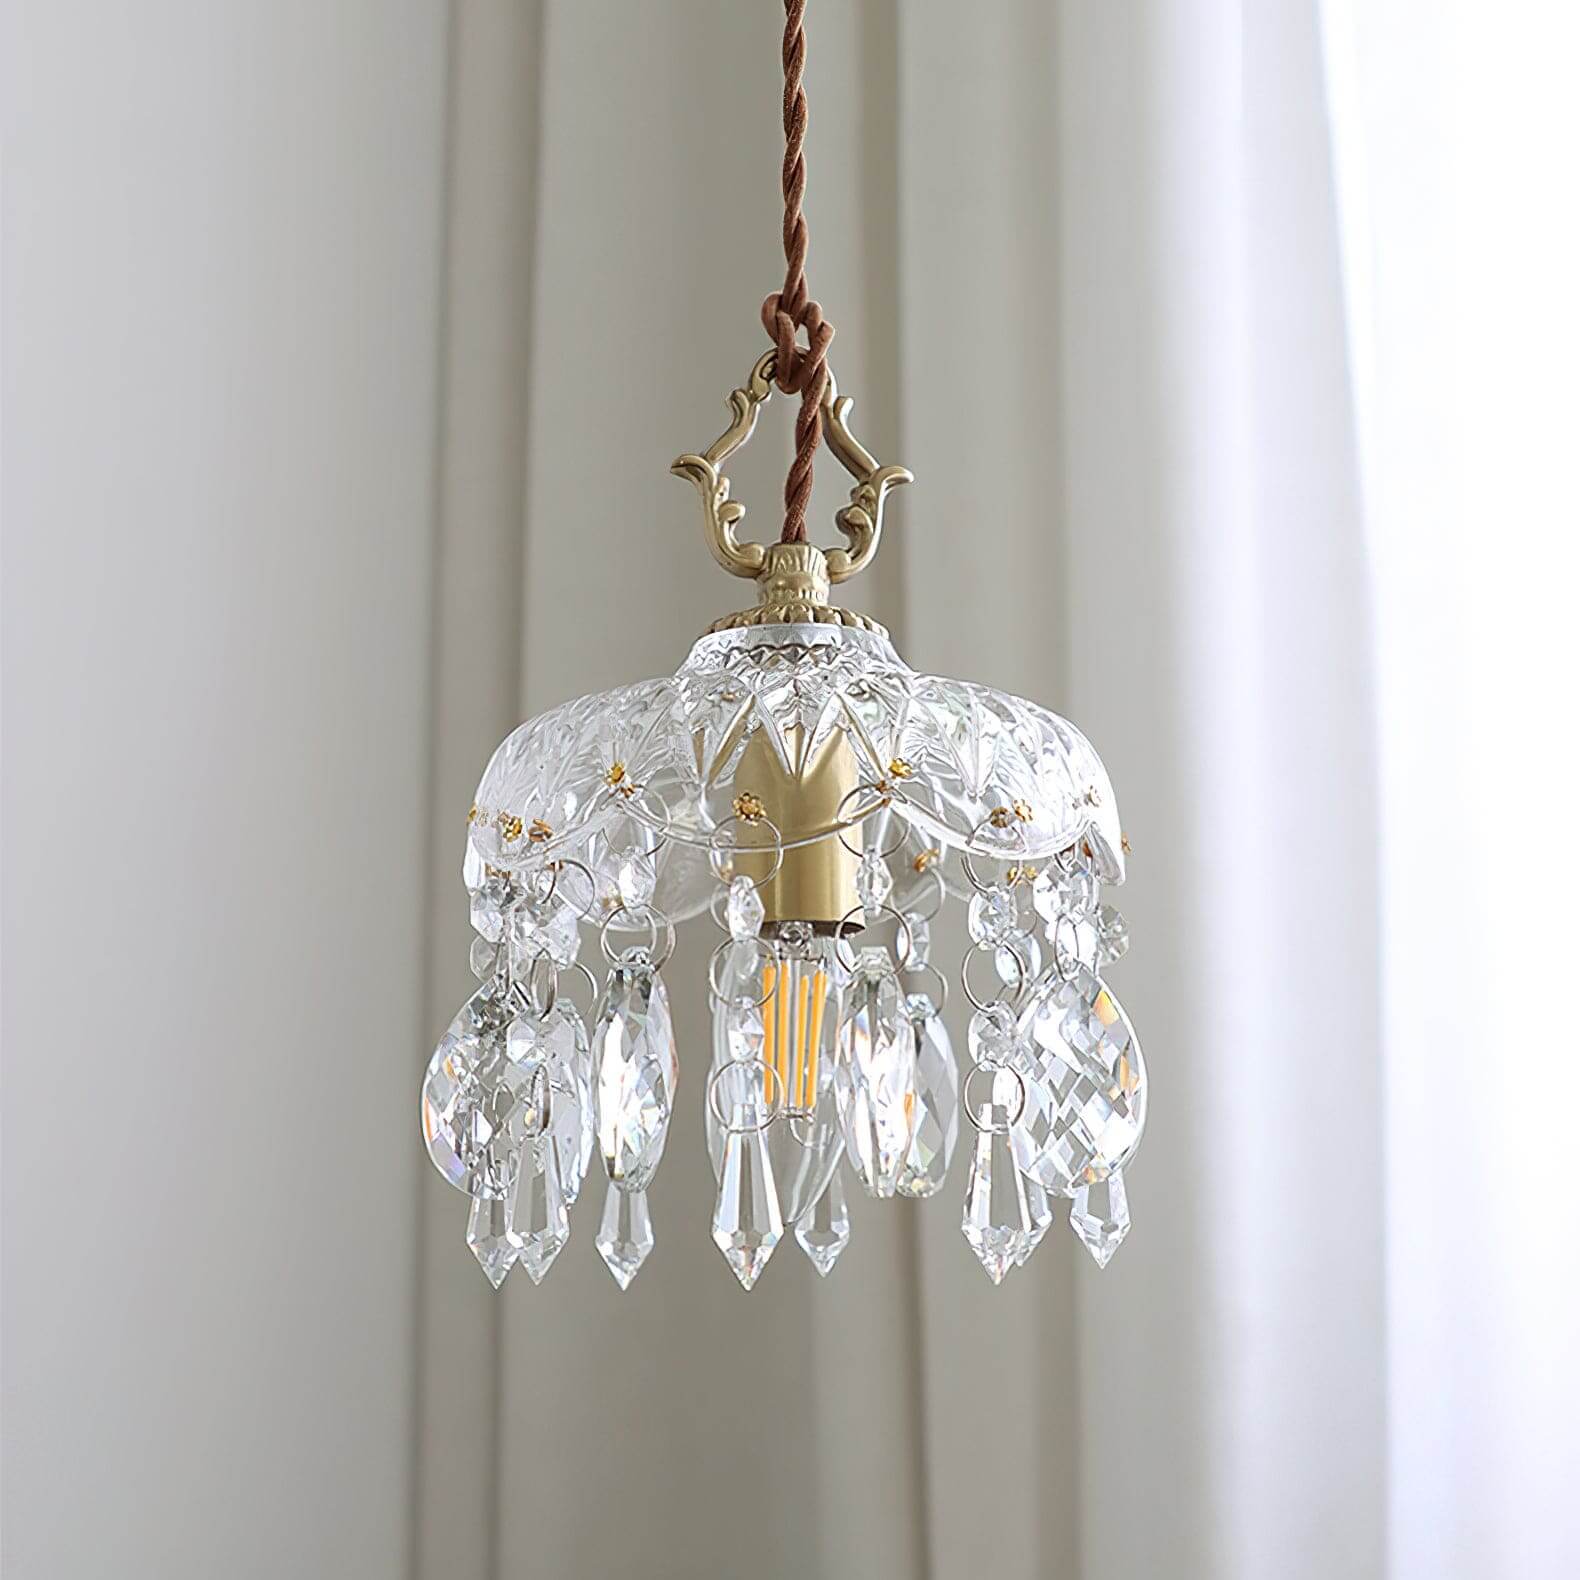
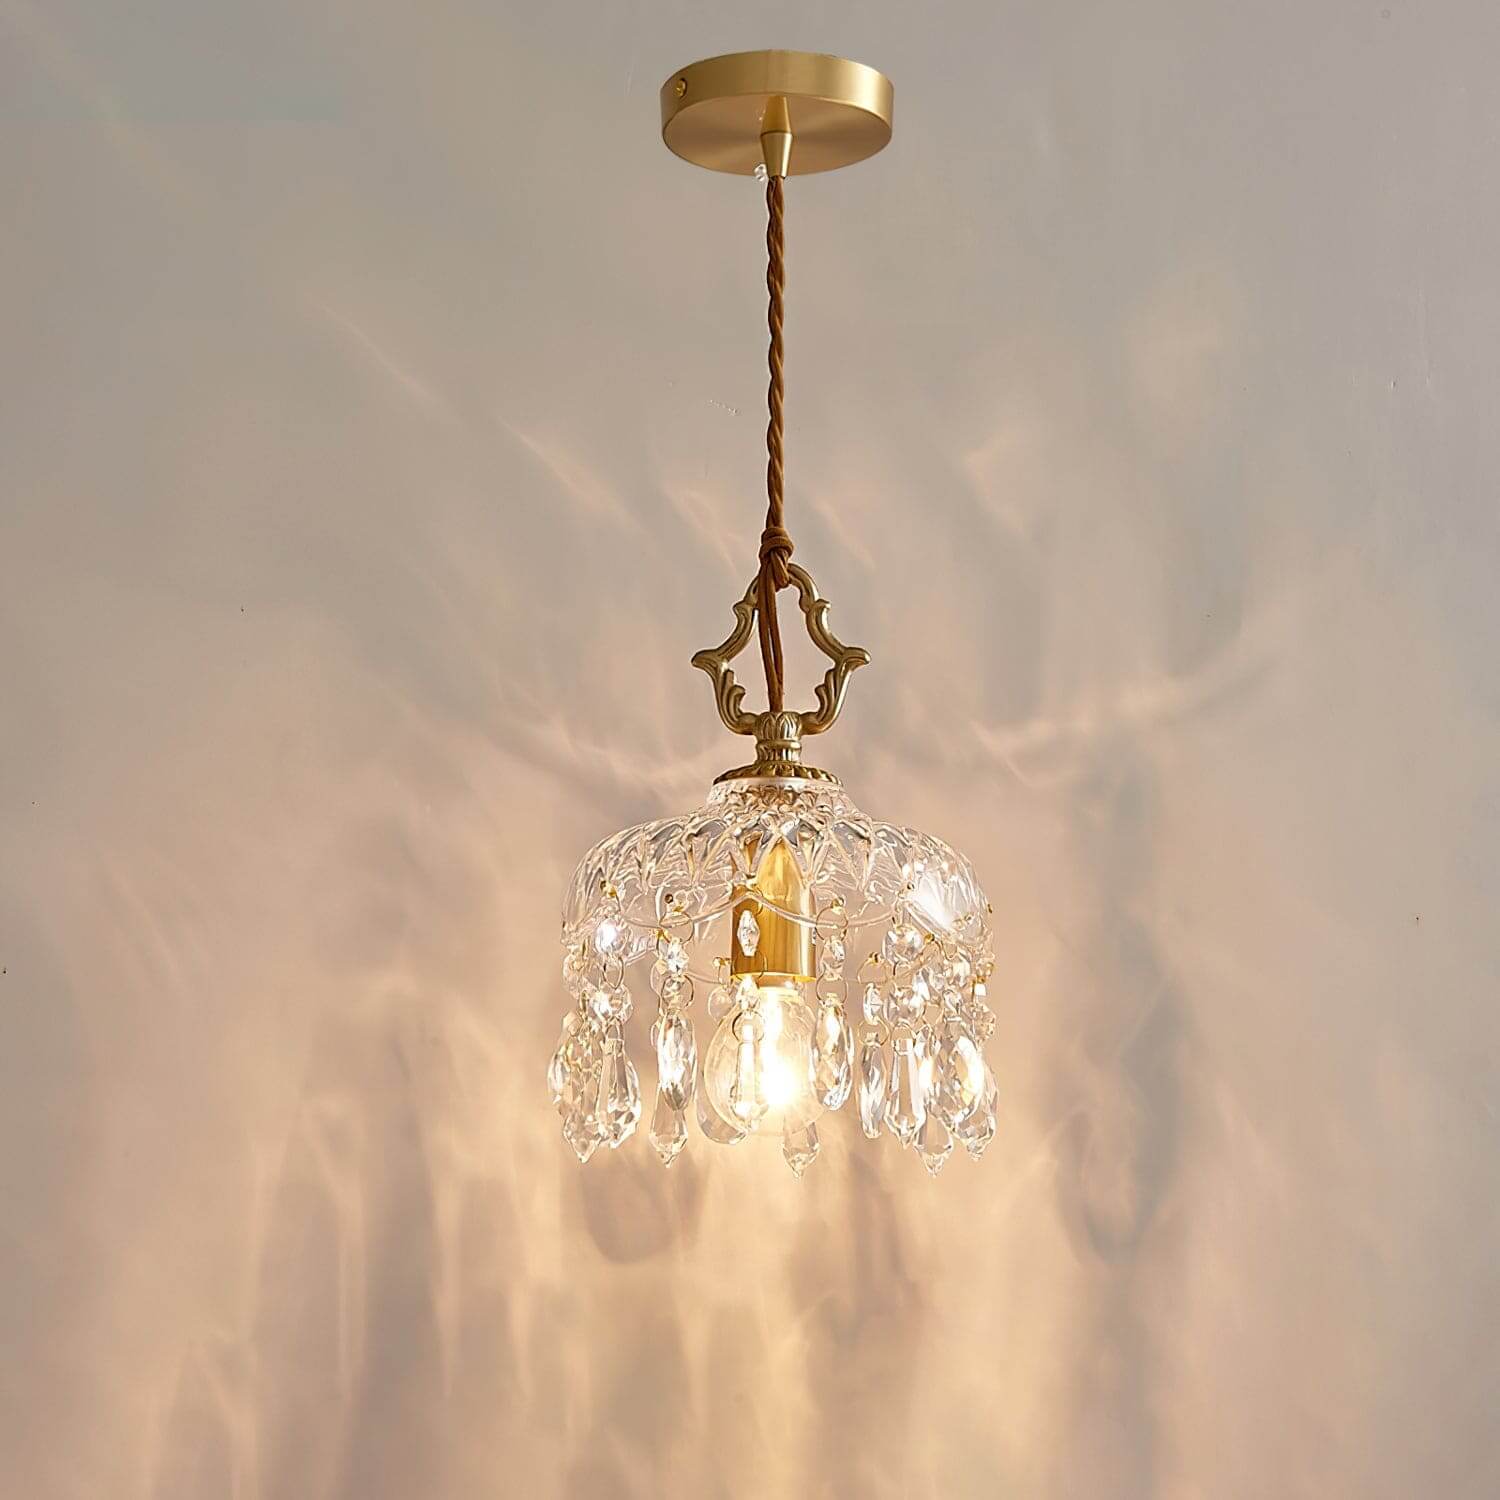
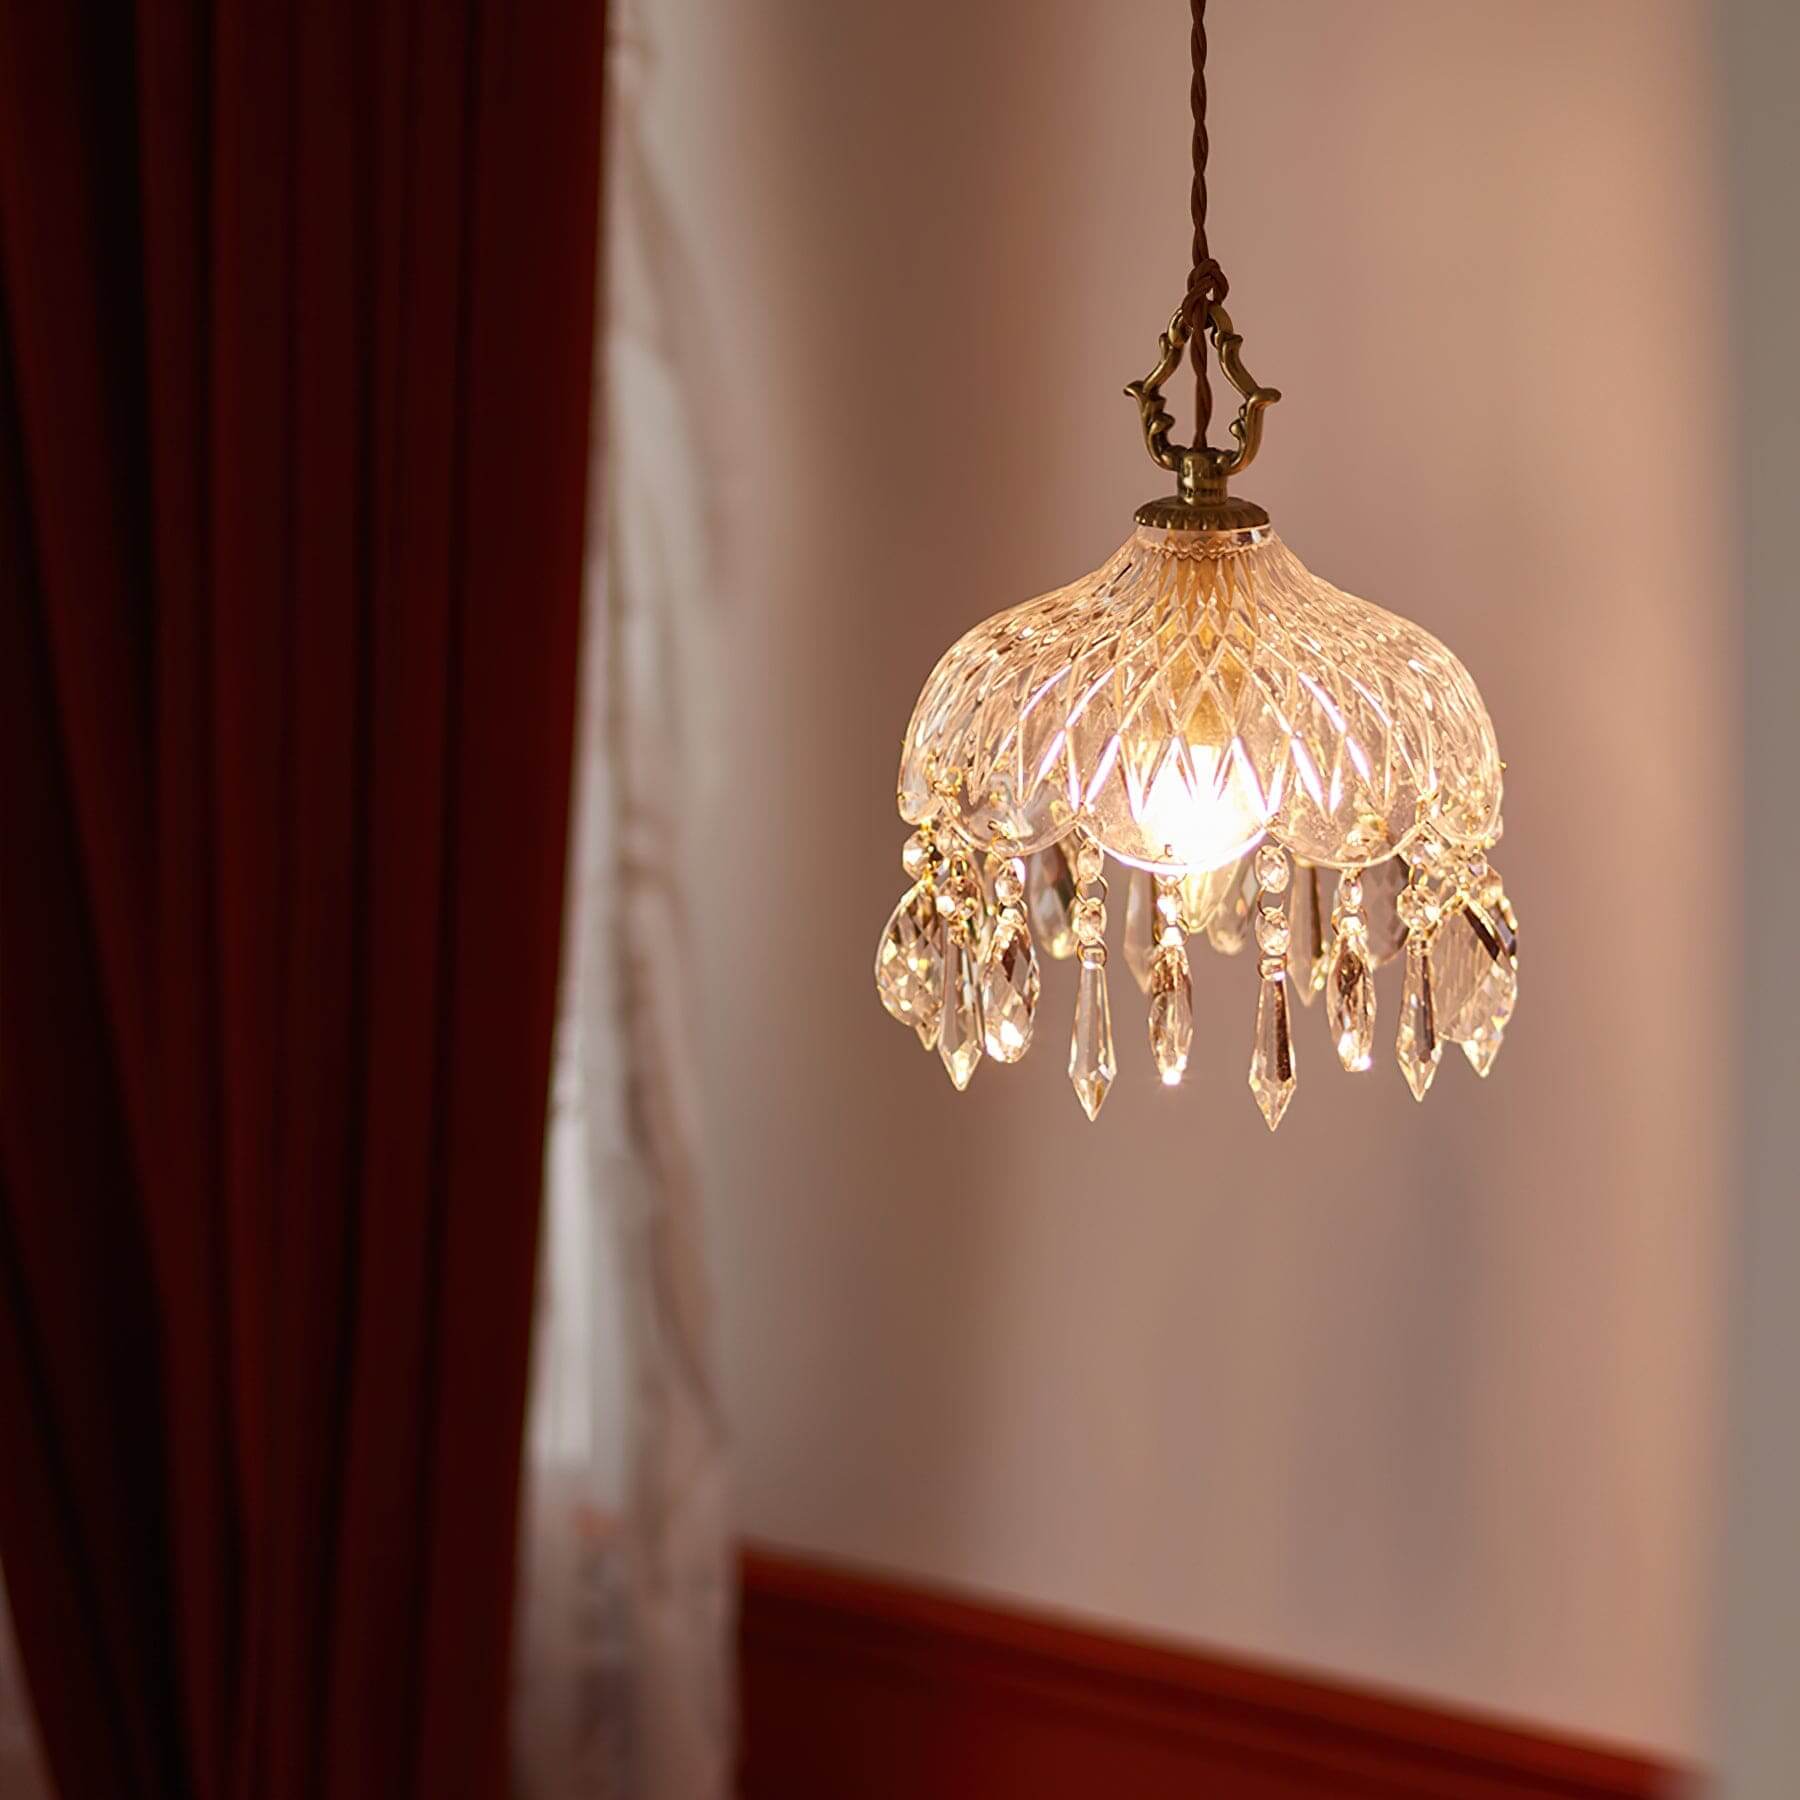
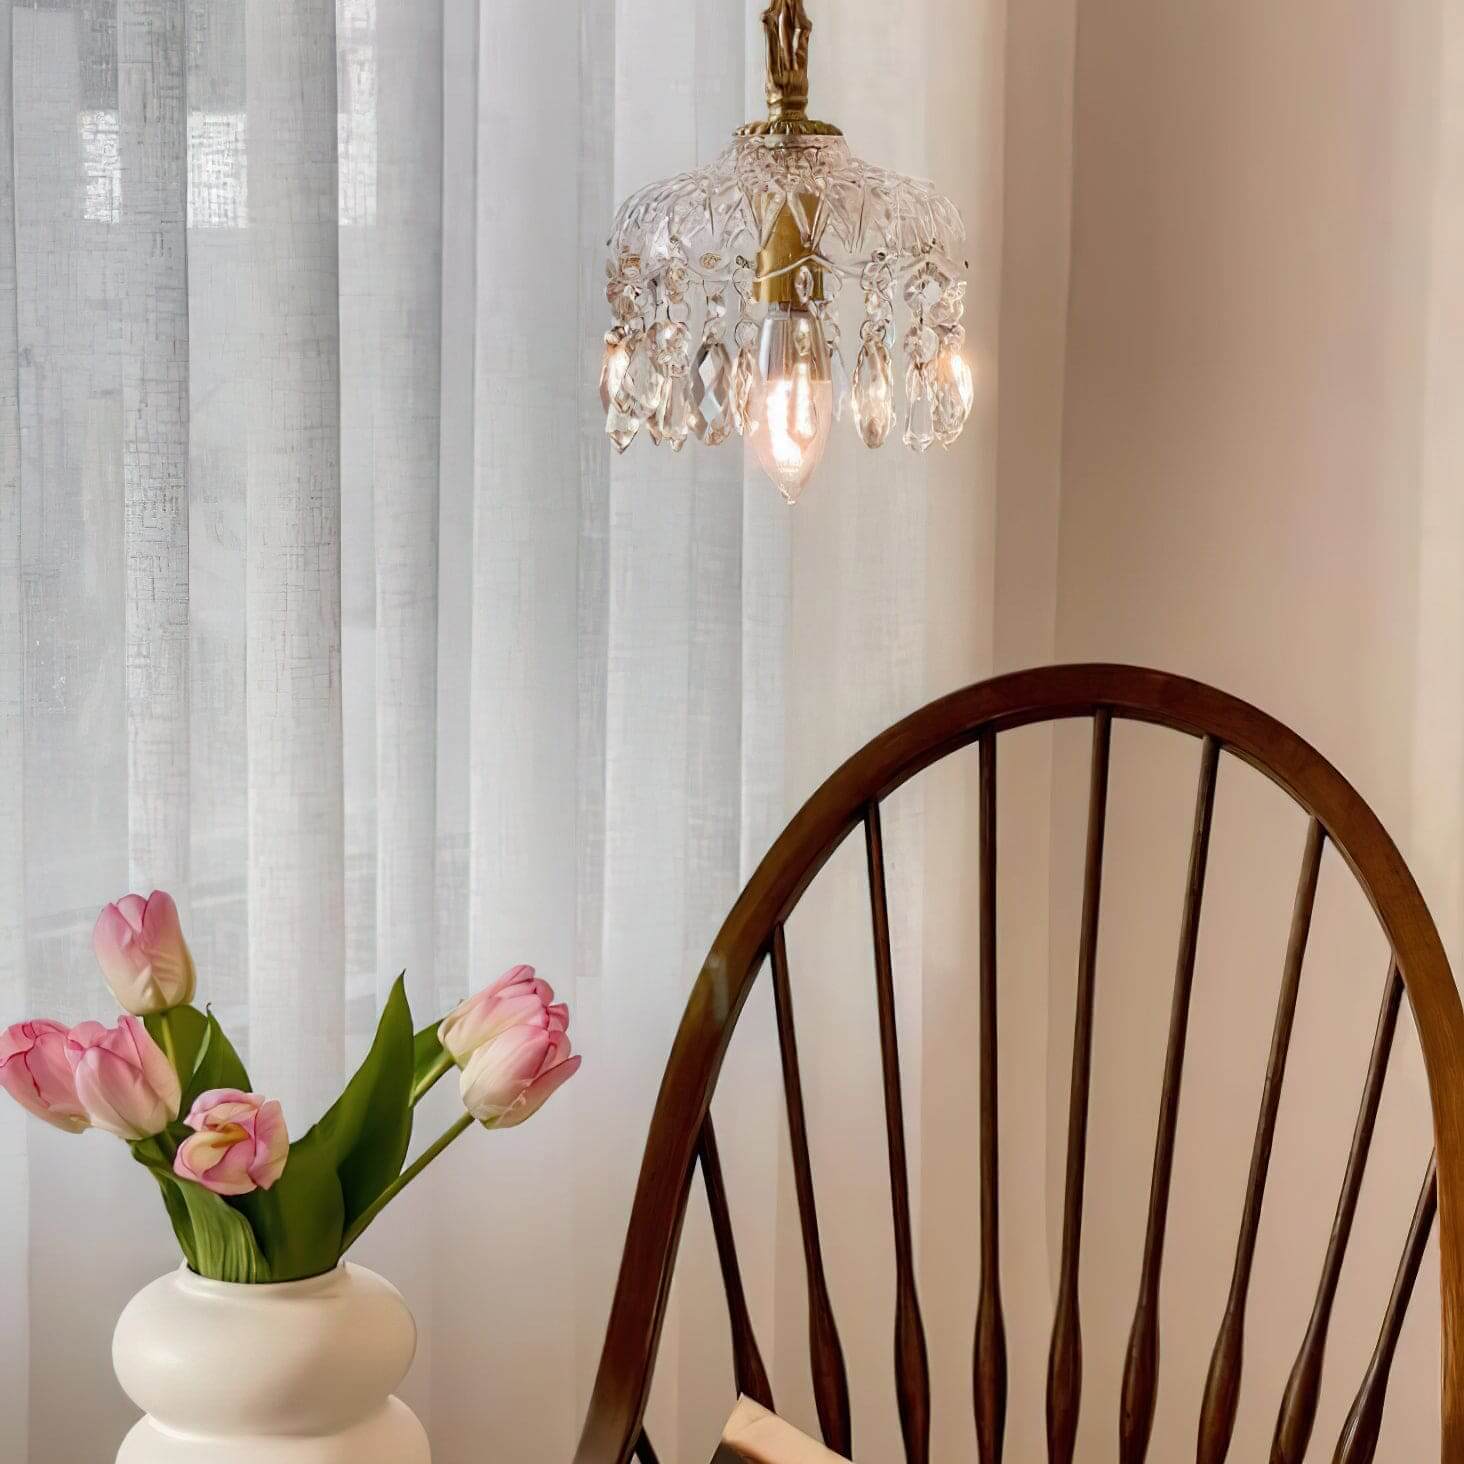
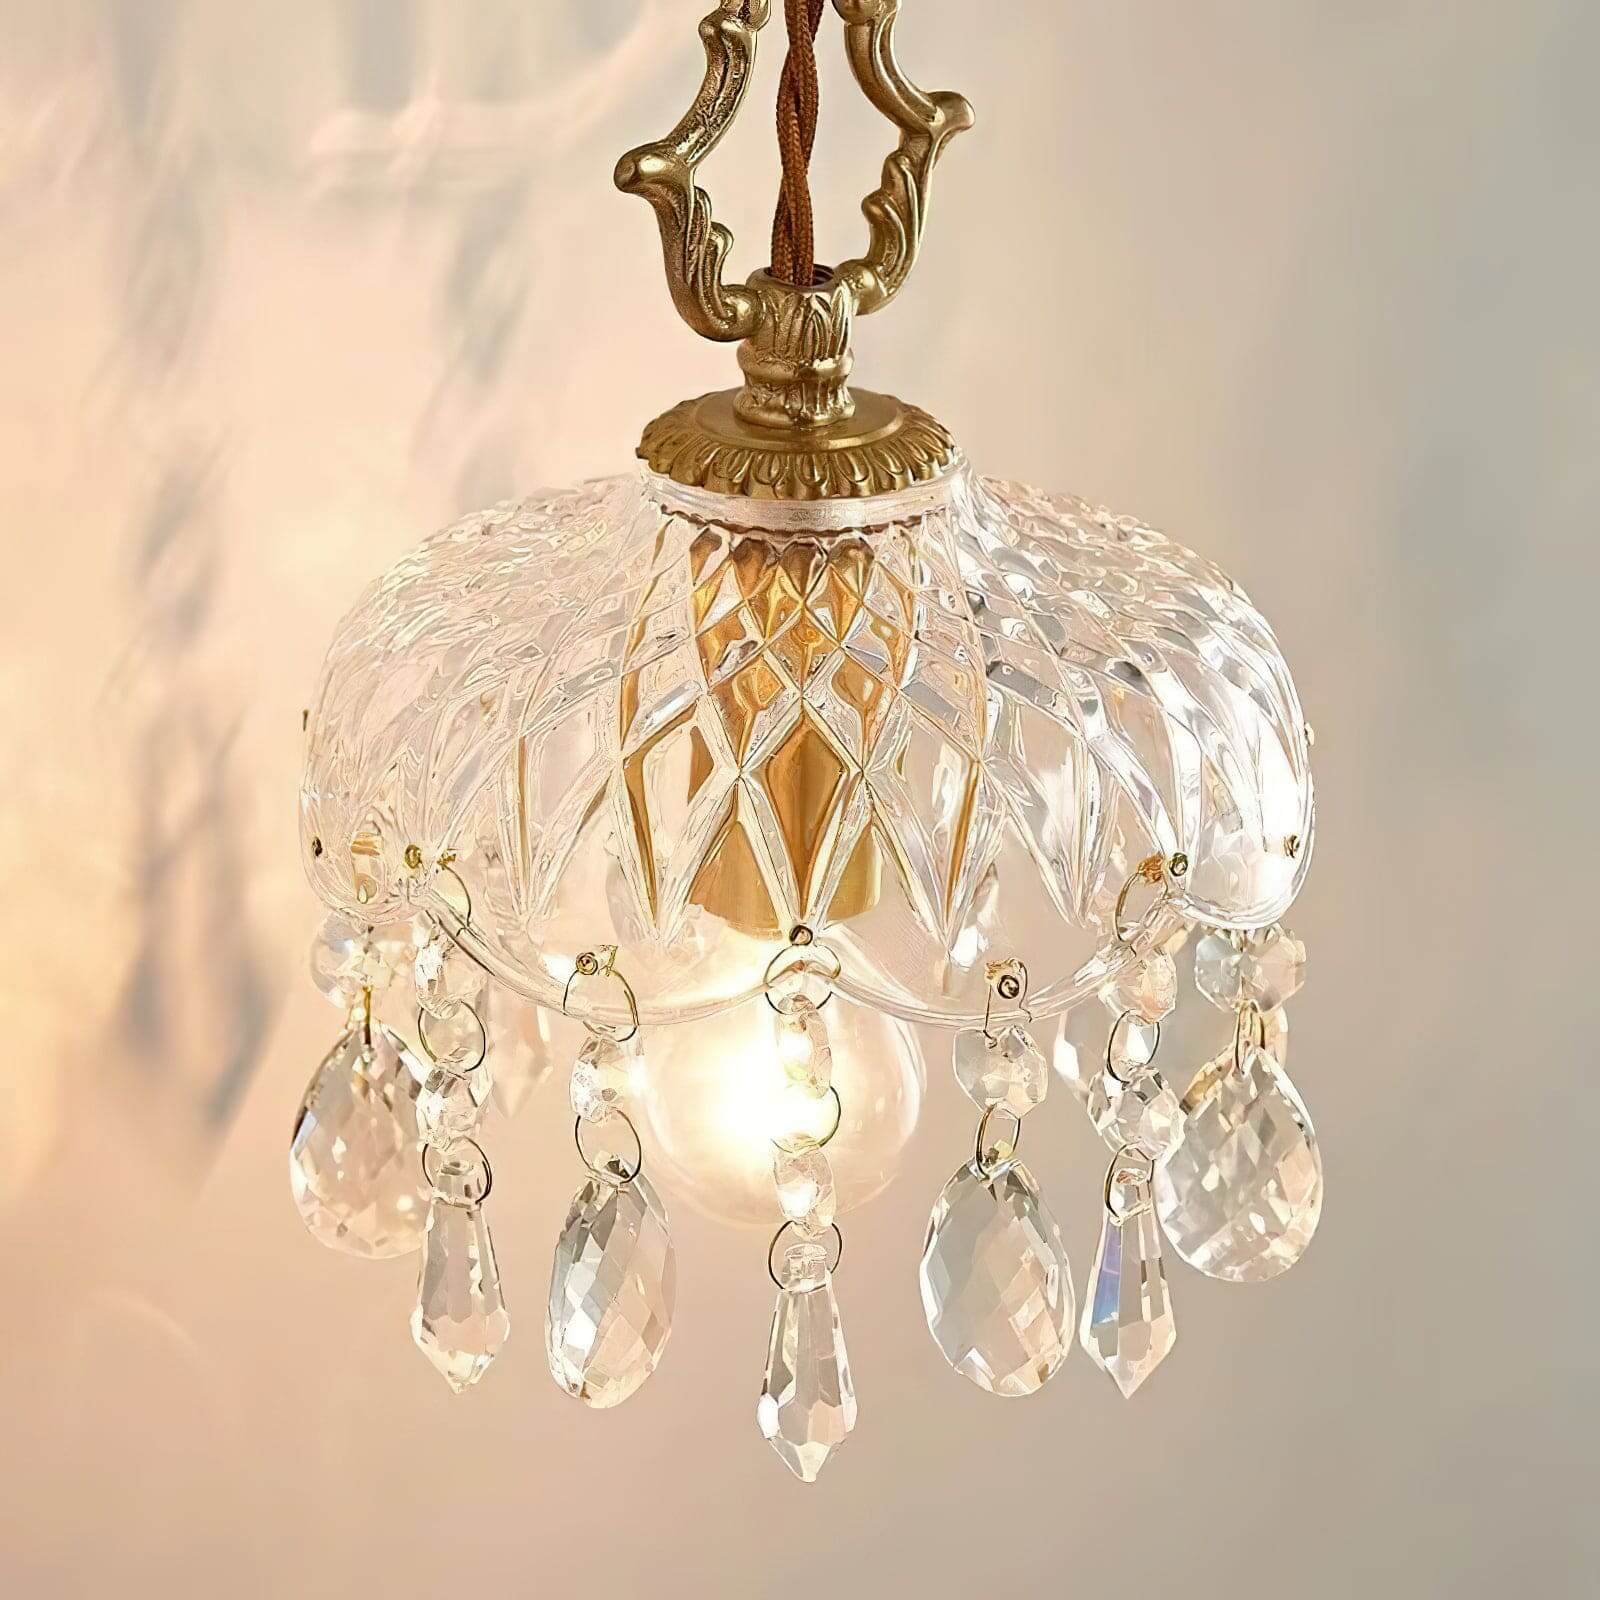
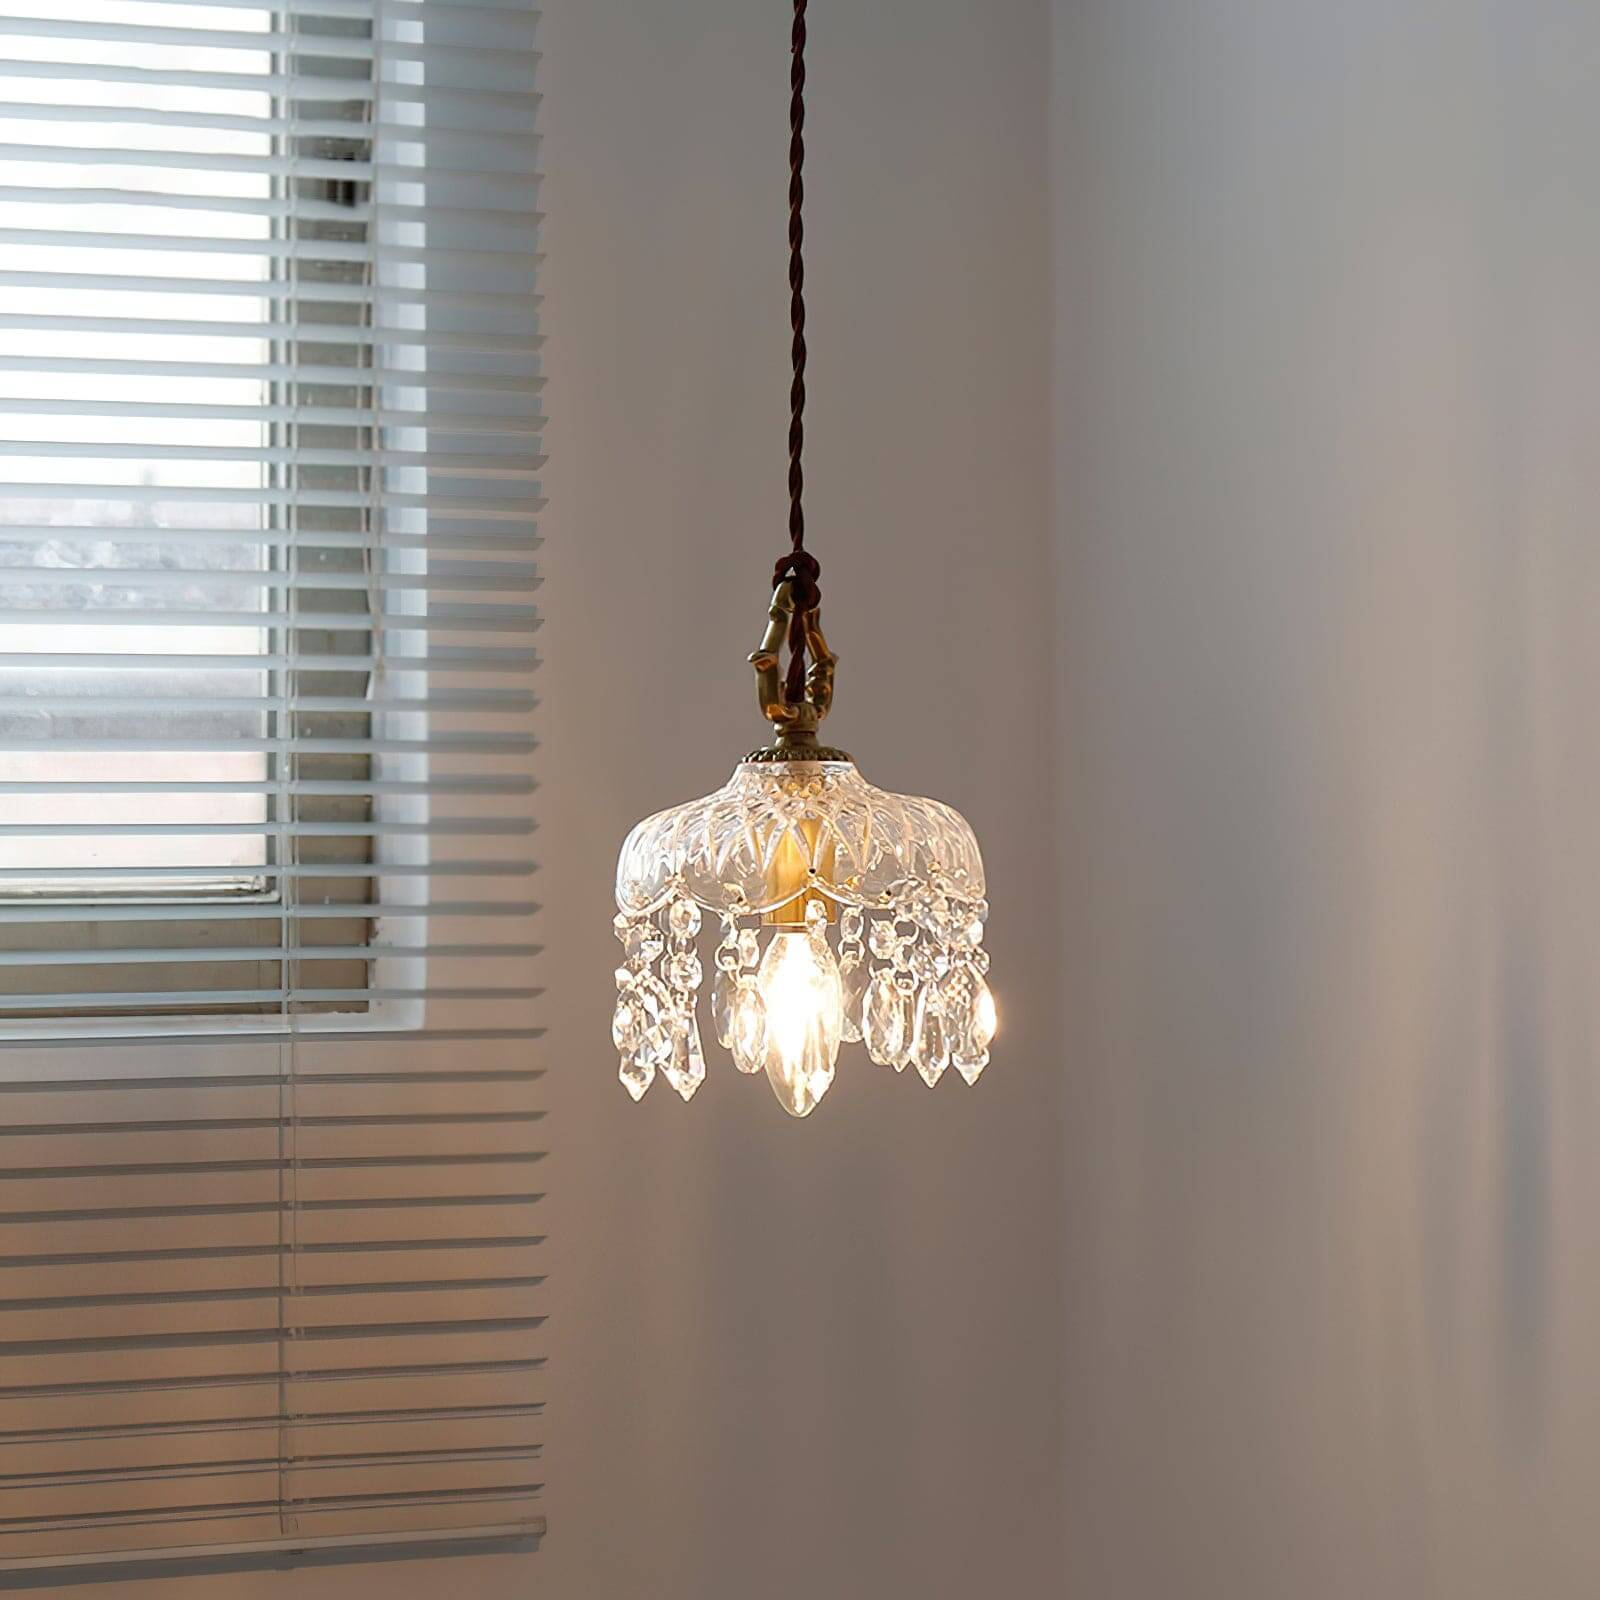
This pendant combines a faceted clear crystal shade with hanging crystal drops and warm gold-toned fittings, creating a jewel-like accent without feeling visually heavy. Light catches the cut surfaces and spreads a warm, sparkling glow, while the compact proportions work well as a single focal point or a balanced pair. The adjustable drop helps the fixture sit comfortably within different room layouts.
- Faceted crystal creates lively reflections and texture
- Compact scale works singly or in pairs
- Adjustable height supports flexible room placement
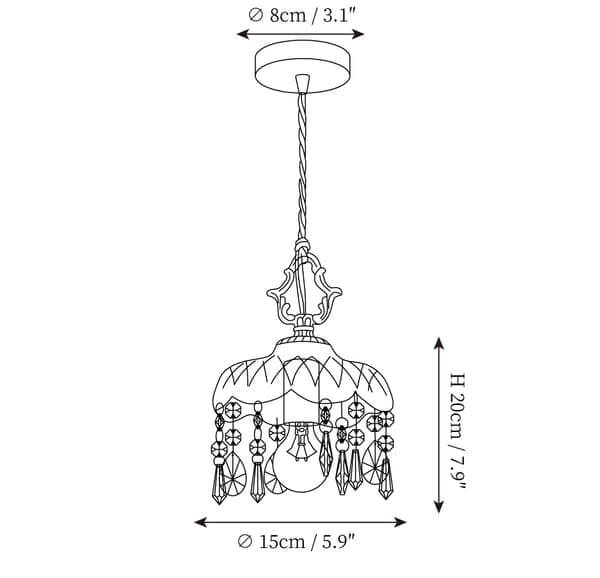
Dimensions
Overall Size
Fixture Height
Cord Length
Minimum Hanging Height
Maximum Hanging Height
Dimension Drawing
Specifications
Material
Finish
Shade Material
Voltage
Location Rating
Care
Bulbs & Dimming
Light Source
Bulb Base
Bulb Quantity
Bulbs Included
Max Wattage
CRI
Dimming Type
Control Type
Suitable Spaces
Best For
Bedside
Kitchen
Reading Nook
Also Works In
Foyer
Entryway
Installation
Installation Type
Professional Installation
Mounting Hardware
Adjustable Height
Sloped Ceiling Compatible
Assembly Required
Shipping & Returns
U.S. Shipping & Delivery
Every fixture is meticulously inspected and securely packaged before leaving our facility. We currently ship exclusively to the United States.
- Processing Time: Orders are processed within 1–5 working days. (Please allow an additional 10-15 days for made-to-order items).
- Complimentary Standard Shipping: Free on all U.S. orders. Delivery typically takes 20–30 working days.
- Expedited Shipping: Faster delivery (10–20 working days) is available at checkout.
- Taxes & Duties: We cover all import fees. The price you see is final.
Returns & Peace of Mind
We want you to feel completely confident in your purchase. If something isn't right, we offer flexible solutions to save you time and hassle:
- Arrival Guarantee (No-Return Policy for Damage): In the rare event your item arrives damaged or defective, simply email us photos. We will immediately issue a Free Replacement or Full Refund—no need to ship the damaged item back to us!
- Hassle-Free Alternative Resolutions: Changed your mind? Because international returns can be costly, we offer flexible alternatives, including generous partial refunds allowing you to keep the fixture without the hassle of return shipping.
- 30-Day Standard Returns: We accept standard returns within 30 days of delivery for unused, uninstalled items in their original packaging. (Note: Buyer is responsible for return shipping costs to our international processing facility in China for non-defective items).
For complete details, please visit our full [Shipping Policy] and [Refund Policy].
FAQs
Please read our FAQs page to find out more.