Restoring a Noguchi Akari paper lamp feels less like a repair project and more like a quiet conversation with time. When I work on a piece like this, I don’t rush. These lamps carry history, intention, and a kind of softness that modern lighting rarely captures. A thoughtful restoration respects all of that.

Below, I want to share how I approach restoring a Noguchi paper lamp—from the fragile washi paper to the hidden bamboo frame—and why the process matters just as much as the result.
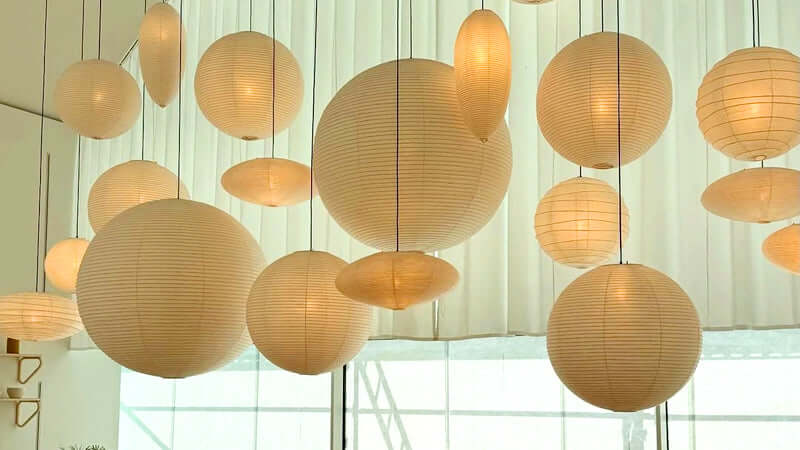
🏮Understanding What Makes a Noguchi Akari Special
Before touching anything, I always take time to study the lamp. Noguchi didn’t design Akari lamps as decoration alone. He designed them as sculptures shaped by light. The washi paper, the hand-formed bamboo ribs, and the simple geometry all work together.

That’s why restoration never means “making it look new.” It means bringing it back to balance.
1️⃣Step One: Carefully Removing the Old Paper
Old washi paper often tears easily, especially around the opening and rib edges. I start by gently loosening the adhesive and peeling the paper away section by section. I avoid pulling. I let the paper release on its own.

This step reveals the bamboo structure underneath, and it usually tells a story. Slight bends, uneven spacing, and age marks remind me that these lamps were always handmade.
2️⃣Step Two: Inspecting and Adjusting the Bamboo Frame
Once the paper comes off, I inspect every bamboo rib. I check for breaks, warping, or loose connections around the central ring.

If I see minor deformation, I gently reshape the bamboo by hand. I never force it. Bamboo responds best to patience. A balanced frame ensures the lamp keeps its iconic silhouette once the new paper goes on.
3️⃣Step Three: Preparing the New Washi Paper
I always choose traditional washi with visible fibers. That texture matters. It controls how the light diffuses and keeps the glow soft rather than flat.

Before attaching anything, I dry-fit the paper to confirm alignment with the bamboo ribs. This step prevents wrinkles and uneven tension later.
4️⃣Step Four: Applying the Paper with Precision
I attach the paper slowly, working in sections and following the natural rhythm of the ribs. Each horizontal line must sit evenly. I smooth the surface by hand, letting the paper stretch naturally without stress.

This part takes the longest, but it defines the final look. When the paper sits correctly, the lamp already feels alive—even before I turn it on.
5️⃣Step Five: Reinforcing the Central Opening
The opening around the socket sees the most wear over time. I reinforce this area carefully to ensure long-term stability without adding bulk. The goal always stays the same: protect the structure without changing the design.

💡Seeing the Lamp Glow Again
The first time I switch the lamp on after restoration always feels special. The light spreads evenly. The washi glows instead of shines. The bamboo ribs create subtle rhythm beneath the surface.

That moment reminds me why these lamps endure. They don’t chase trends. They invite calm.
🎁 Conclusion: A Warm Holiday Gift
In this fast-paced era, rossolighting persists in this slow and meticulous craftsmanship because we believe that true design is worth waiting for.
With Christmas and New Year approaching, we want to not only brighten your home but also warm your heart. We have prepared the warmest gift for you this year: use discount code 2025 to enjoy a 10% discount on your first purchase.
Share:
How to Decorate with a Rice Paper Lantern Pendant in Modern Homes
Velano Series Lighting: Elevate Your Space with Style and Function